How to Make a Digital Planner Overview
If you want to know how to make a digital planner, you’re in the right starting place. That being said, there’s something we want to highlight first.
Making a digital planner is a complicated process that takes a lot of time and technology proficiency. We’ll always advocate for finding an amazing planner that suits your needs rather than creating one.
We recommend, of course, the Key2Success Planner as an incredible option for anyone looking to organize and improve their life. But, if you’re set on learning how to make a digital planner, we’ll share some of the more popular ways creators use.
We’ll cover:
- What is a digital planner?
- How to make a digital planner steps.
- Software needed to make a digital planner.
- Things to avoid when making a digital planner.
- What should be included in a digital planner.
As always, we’re here to help! If you have questions about digital planning and the Key2Success system, please reach out!
Visit the OneNote Planner Shop
Visit the GoodNotes/PDF Shop
Visit the Samsung Notes Shop
Visit the Nebo Shop
Visit the Penly Shop
Visit the Amazon Scribe Shop
Visit the reMarkable Shop
Visit the Onyx Boox Shop
Visit the Noteshelf Shop
Digital Planner 101
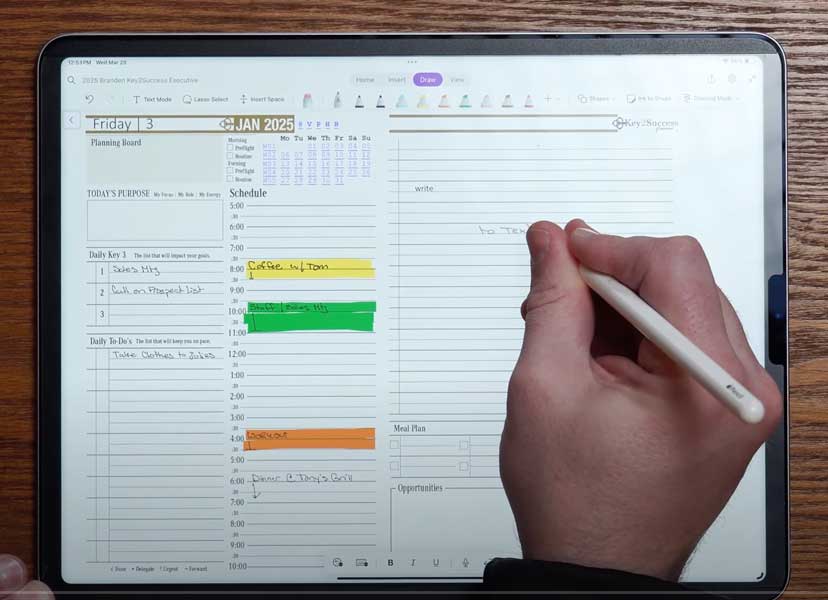
A digital planner is an electronic version of a traditional paper planner that you can use on digital devices like tablets, smartphones, or computers. It helps you organize your schedule, tasks, notes, and goals in a digital format.
Digital planners often come in the form of PDFs or apps that mimic the layout and functionality of a paper planner but offer additional features like hyperlink navigation, customizable templates, integration with other apps, and the ability to add multimedia elements like images and audio.
You can use a stylus or your finger to write on the planner, similar to how you’d use a pen on paper, but with the added benefits of digital convenience, such as cloud syncing, easy editing, and search functionality.
Digital planners are popular among those who want the tactile experience of handwriting combined with the efficiency and flexibility of digital tools.

How to Make a Digital Planner Step-by-Step
Creating a digital planner from scratch can be quite a challenging process, even for those who are tech-savvy or have design experience. While platforms like Canva make it easier with templates, the reality is that designing a functional, well-organized planner requires a good deal of thought, time, and effort. You need to consider usability, layout, font selection, color schemes, and even how the planner will be used in real-world scenarios like daily scheduling, goal tracking, or note-taking.
For those who are new to digital design or want a hassle-free experience, it can be much more effective to purchase a planner that has already been developed and tested. The Key2Success Digital Planner, for example, is a great option. It’s well-designed, integrates with tools like OneNote, and offers the functionalities that most users need. Not only is it distraction-free, but it’s also created by professionals who understand how people plan and organize their lives.
If you’re set on creating a planner, your first step is to select an app.
Digital Planner Creation Apps
Here are some popular apps you can use to create digital planners:
1. Canva
- Best for: Beginners and pros alike, with lots of templates.
- Features: Easy drag-and-drop interface, customizable templates, elements, and fonts. Great for creating professional-looking digital planners.
- Platform: Web, iOS, Android
2. GoodNotes
- Best for: Designing digital planners specifically for note-taking apps.
- Features: Import PDF planners and annotate them. You can create custom templates and use hyperlinks to jump between pages.
- Platform: iOS (works well with iPad and Apple Pencil)
3. Notability
- Best for: Handwritten planners with typing and drawing capabilities.
- Features: Offers customizable page templates, drawing tools, and note-taking features. Supports adding links, images, and text.
- Platform: iOS, Mac
4. Microsoft OneNote
- Best for: Integrated note-taking with digital planning.
- Features: You can create custom planners using templates, organize sections, and write or type notes. Syncs across devices.
- Platform: Windows, macOS, iOS, Android
5. Procreate
- Best for: Artists looking for creative control.
- Features: Allows full creative design for planners, from drawing pages to adding intricate details. Works well for creating unique, hand-drawn digital planners.
- Platform: iPad (with Apple Pencil)
6. Adobe InDesign
- Best for: Advanced users creating complex planner layouts.
- Features: Professional layout design with a lot of customization options, perfect for creating detailed, interactive planners.
- Platform: Windows, macOS
7. Keynote
- Best for: Simple planners with hyperlinks.
- Features: Custom page design with hyperlinking capabilities. Can be exported as PDFs for use in digital planning apps.
- Platform: macOS, iOS
8. Affinity Publisher
- Best for: Detailed, professional-quality planner creation.
- Features: High level of design flexibility, vector tools, and templates for creating fully customized planners.
- Platform: Windows, macOS
Each app offers a different range of tools depending on the level of customization, design, and functionality you want in your digital planner!
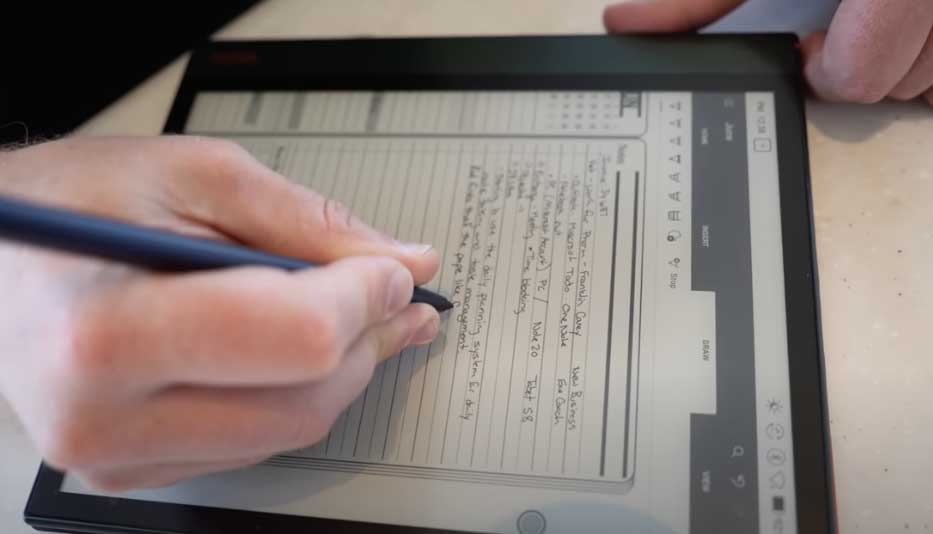
Creating a Digital Planner in Canva
One of the easiest beginner apps to use is Canva. Keep in mind that there are limitations to this app, but for the sake of instruction we’ll break down how many creators use Canva.
(Please note that Key2Success does NOT use Canva to create our planners. Ours use advanced software and involves a meticulous development process to make sure it’s the absolute best professional planner on the market!)
Creating a digital planner step-by-step can be a fun and rewarding process. Here’s a guide to help you design your own digital planner using Canva and export it for use in apps like GoodNotes or Notability:
Step 1: Plan Your Layout
Before you begin designing, decide on the following:
- Planner Style: Daily, weekly, or monthly planner?
- Sections: To-do lists, habit trackers, notes, goal-setting?
- Aesthetic: Minimalist, colorful, themed?
Step 2: Sign Up and Log into Canva
- Go to Canva.
- Create a free account (or log in if you already have one).
Step 3: Choose Custom Size
- On the Canva dashboard, click the “Create a Design” button at the top right.
- Select “Custom Size.”
- Set your dimensions to match the device or platform you’ll use it on:
- Standard Size for Planners: 8.5 x 11 inches (letter size), or A4 size for universal compatibility.
- Set your dimensions to match the device or platform you’ll use it on:
- Click “Create New Design.”
Step 4: Design the Planner Pages
Background Color:
- In the blank canvas, click the background and select a color or pattern.
- Choose a clean, aesthetic background that fits your planner style.
Create Headers & Sections:
- Go to the “Elements” tab on the left to add shapes (rectangles, lines, etc.) to organize your planner.
- Use the “Text” tool to add titles like “Weekly Planner,” “To-Do List,” “Goals,” or “Daily Focus.”
Insert Grids or Lines:
- Add grids or line elements for daily slots, notes, or to-do lists.
- Search for “lines” in Elements and use them to create dividers between days or tasks.
Add Icons or Illustrations (Optional):
- Search for planner icons (e.g., checkboxes, stars, and bullet points) in Elements.
- Use them to add extra detail and make your planner more engaging.
Choose Fonts & Style:
- Customize your text by choosing fonts that reflect your aesthetic.
- Canva offers a variety of font combinations, so experiment to find one that works.
Step 5: Create Multiple Pages
- Add more pages: If you need additional pages for different layouts (like monthly and daily planners), click “Add Page.”
- Duplicate pages: If you want consistency across your planner, click the “Duplicate Page” button and make minor adjustments.
- You can create templates for weekly, monthly, or daily spreads.
Step 6: Add Hyperlinks (for Interactive PDFs)
- Select the element (e.g., a date or day of the week).
- Click the “Link” icon in the top toolbar.
- Enter the URL, or select “Go to page” and choose the page within the planner.
- This allows you to jump to specific pages when the planner is used in apps like GoodNotes.
Step 7: Download the Planner as a PDF
- Once you’ve designed your entire planner, click “Share” in the top-right corner.
- Select “Download.”
- Choose PDF Standard or PDF Print (for higher quality).
- Make sure to check the option for “Flattened PDF with hyperlinks” if you want the interactive features.
Step 8: Import Your Planner into a Note-Taking App
- Open GoodNotes or Notability (or your preferred app).
- Import the PDF you just created:
- In GoodNotes: Tap “New,” then “Import,” and select your PDF.
- In Notability: Tap the “+” icon, then “Import.”
- Test hyperlinks and usability to ensure everything functions smoothly.
Step 9: Add Extra Touches (Optional)
If you’re using an app that supports handwriting or drawing, consider:
- Annotating with a stylus.
- Adding custom stickers or decorations.
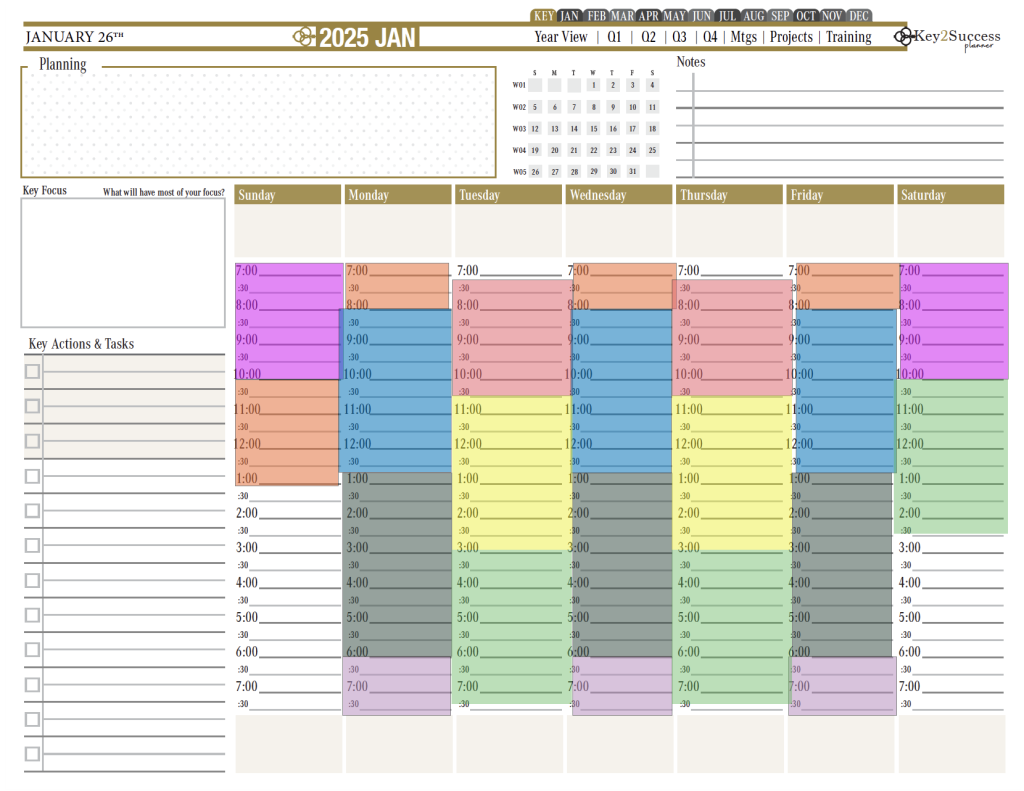
Planning to Sell a Planner? Be Cautious!
If you still want to create and sell a digital planner, there are several things to keep in mind:
- Copyright issues: Be cautious when using images, fonts, or design elements that aren’t original. Many design elements, even on platforms like Canva, may have restrictions on commercial use. Make sure to read the licensing agreements to avoid infringing on intellectual property.
- Usability testing: Before selling your planner, make sure to test it thoroughly. Is it easy to use? Do all the links work? Is the layout functional for users? A poorly tested product can result in negative reviews and refunds.
- Niche targeting: Successful planners often target a specific audience, such as entrepreneurs, students, or digital creators. By focusing on a particular group, you can better meet their needs and create something truly valuable.
- Platform regulations: Be sure to comply with the terms of service for platforms like Etsy, where many planners are sold. These platforms often have specific rules regarding digital goods and intellectual property.
What to Include in Your Digital Planner & What to Avoid
When creating a digital planner, it’s important to include essential features that enhance productivity and ease of use, while avoiding clutter or overwhelming the user. Here are key things to include and pitfalls to avoid:
Things to Include in a Digital Planner
Yearly, Monthly, Weekly, and Daily Pages: Offer a range of views, allowing users to plan long-term (yearly goals), medium-term (monthly schedules), and short-term (daily tasks).
To-Do Lists and Task Trackers: These help users break down tasks and track progress efficiently. Include space for priority marking or deadlines.
Goal-Setting Sections: Provide sections dedicated to goal-setting with actionable steps and deadlines.
Habit Trackers: Help users build and maintain positive habits by incorporating customizable trackers for activities like exercise, reading, or drinking water.
Space for Notes and Reflection: Add lined or blank sections for freeform note-taking, brainstorming, or journaling.
Customizable Templates: Allow users to choose from different layouts (e.g., minimalist, colorful, detailed, simple) and personalize the planner to their preferences.
Hyperlinks for Easy Navigation: Make sure the planner is easy to navigate by adding hyperlinks to different sections like monthly or daily pages, to streamline user experience.
Budgeting Tools: Include sections for tracking income, expenses, and savings goals, as financial planning is a key feature for many users.
Inspiration or Quote Sections: Adding motivational quotes or a section where users can jot down inspiring ideas helps make the planner more engaging.
Digital Stickers and Widgets: Many digital planners offer fun, customizable stickers for marking important dates, events, or milestones.
Things to Avoid in a Digital Planner
Cluttered Layouts: Avoid making pages overly busy with too many sections, colors, or elements. Stick to a clean, easy-to-read design that won’t overwhelm the user.
Too Much Customization: While offering customization is good, too many options can confuse users. Provide a balance where customization is intuitive but not endless.
Complex Navigation: If your planner isn’t easy to navigate, users will get frustrated. Always include hyperlinks for quick access and test them before releasing.
Excessive Colors or Fonts: Stick to a cohesive color palette and no more than two or three fonts. Overloading with colors and fonts can make it harder for users to focus.
Redundant Sections: Be careful not to duplicate sections unnecessarily. For example, if a weekly planner already includes daily breakdowns, a separate daily section might be redundant.
Overloaded Pages: Don’t cram too much into a single page, especially when it comes to daily or weekly layouts. It’s better to offer clear, distinct sections than overwhelming users with multiple small fields.
No Clear Purpose: Each section or feature should have a clear purpose. Avoid adding elements just because they “seem cool” without thinking through their actual utility.
Outdated Design: Stay current with design trends in digital planning. Avoid outdated fonts, poor spacing, or rigid designs that don’t adjust well to different devices.
By focusing on user-friendly features and avoiding common pitfalls, you can create a functional and appealing digital planner that meets the needs of your target audience.
Visit the OneNote Planner Shop
Visit the GoodNotes/PDF Shop
Visit the Samsung Notes Shop
Visit the Nebo Shop
Visit the Penly Shop
Visit the Amazon Scribe Shop
Visit the reMarkable Shop
Visit the Onyx Boox Shop
Visit the Noteshelf Shop


