Step 2: Send Digital PDF Planner to Kindle Scribe
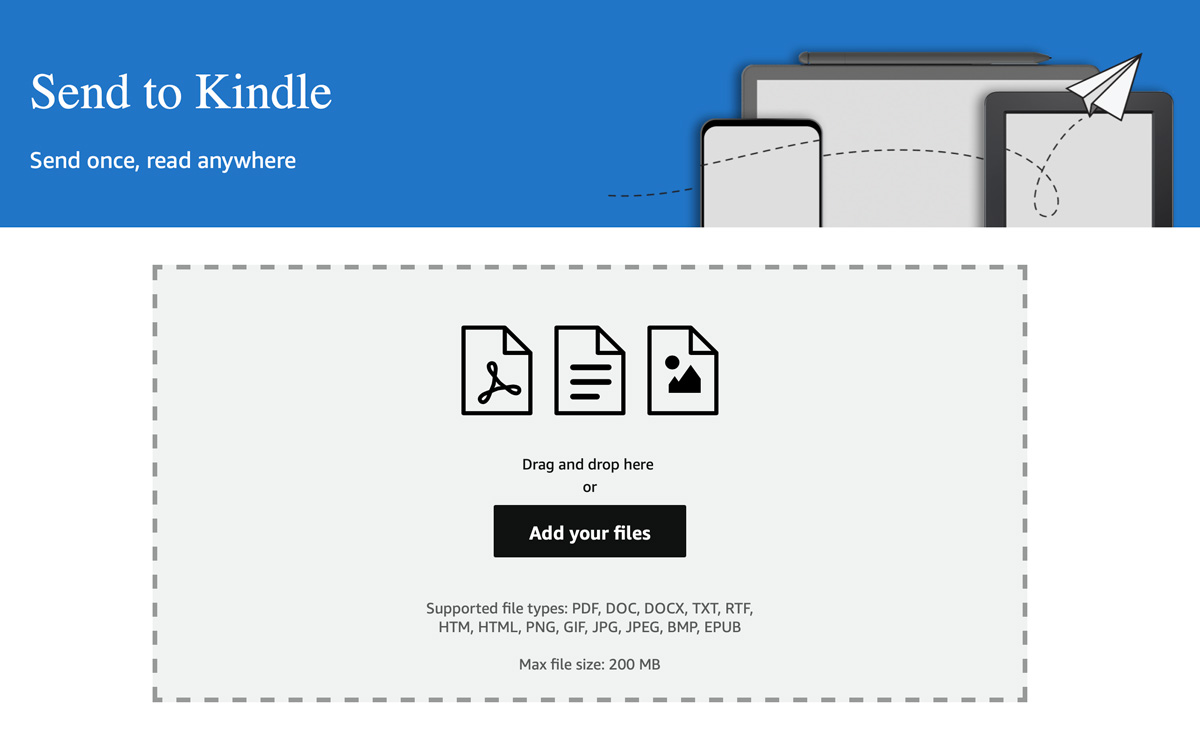
Once your Kindle Scribe is connected to your Amazon account, the next step is to send the digital PDF planner to your device. This process is straightforward and allows you to access your planner seamlessly on the Scribe. You can send files directly from your computer or mobile device using the Amazon Send to Kindle feature.
To send your PDF planner, locate the file on your device, right-click, and select the option to share or send to Kindle. Ensure you enter the correct email associated with your Amazon account. Once sent, the planner will appear in your Kindle library, ready for use. This feature makes it easy to manage and organize your digital planning materials.
Compatible Digital Planners for Amazon Scribe
Understanding which digital planners are compatible with the Amazon Scribe can enhance your planning experience. Many digital planners are designed specifically for e-ink devices, ensuring optimal performance and usability. Look for planners that support PDF format, as this is the primary file type used by the Scribe.
Popular options include planners tailored for productivity, goal-setting, and daily organization. Many users prefer planners that offer hyperlinked navigation, allowing for quick access to different sections. Additionally, consider planners that come with instructional content or tutorials to help you maximize your use of the Scribe.
Troubleshooting Common Issues
While sending a digital planner to your Kindle Scribe is usually a smooth process, you may encounter some common issues. These can include problems with file formats, connection errors, or syncing issues. Understanding how to troubleshoot these problems can save you time and frustration.
If you experience issues, first ensure that your PDF file is not corrupted and is compatible with the Scribe. Check your internet connection and verify that your device is registered correctly with your Amazon account. If problems persist, consult the Amazon support page for additional troubleshooting steps or reach out to customer support for assistance.
Enhancing Your Digital Planning Experience
To get the most out of your digital planner on the Amazon Scribe, consider integrating additional tools and resources. Many users find that combining their planners with productivity apps or digital note-taking tools can significantly enhance their planning capabilities. Explore various resources that complement your digital planner.
For example, using cloud storage solutions can help you keep your planner files organized and accessible from multiple devices. Additionally, consider joining online communities or forums focused on digital planning, where you can share tips, resources, and experiences with other users. This collaborative approach can provide new insights and techniques to enhance your productivity.