OneNote Tile Installation Guide
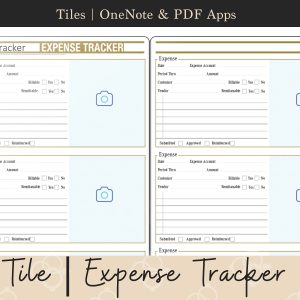
In the dynamic world of digital planning, the ability to personalize your planner with Tiles adds a new dimension to your organizational journey. In this blog post, we’ll take a deep dive into the step-by-step process of importing Tiles into OneNote, showcasing how this feature can elevate your planning experience.
The first step in this journey is to install the Tiles onto your OneNote. Head over to the Key2Success website and locate the OneNote installation guide. Follow the guide to install the Tiles, treating them as you would a normal notebook or planner.
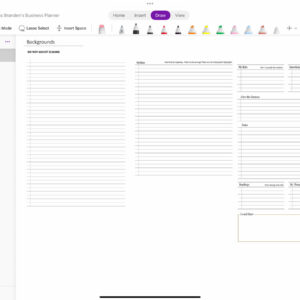
Once the Tiles are imported, we encourage you to explore customization options.
After arranging and customizing the planner with the imported Tiles, remember to save changes. This ensures that the personalized touches added to the planner are preserved for future use.


