By Bodendorfer
0 Comments
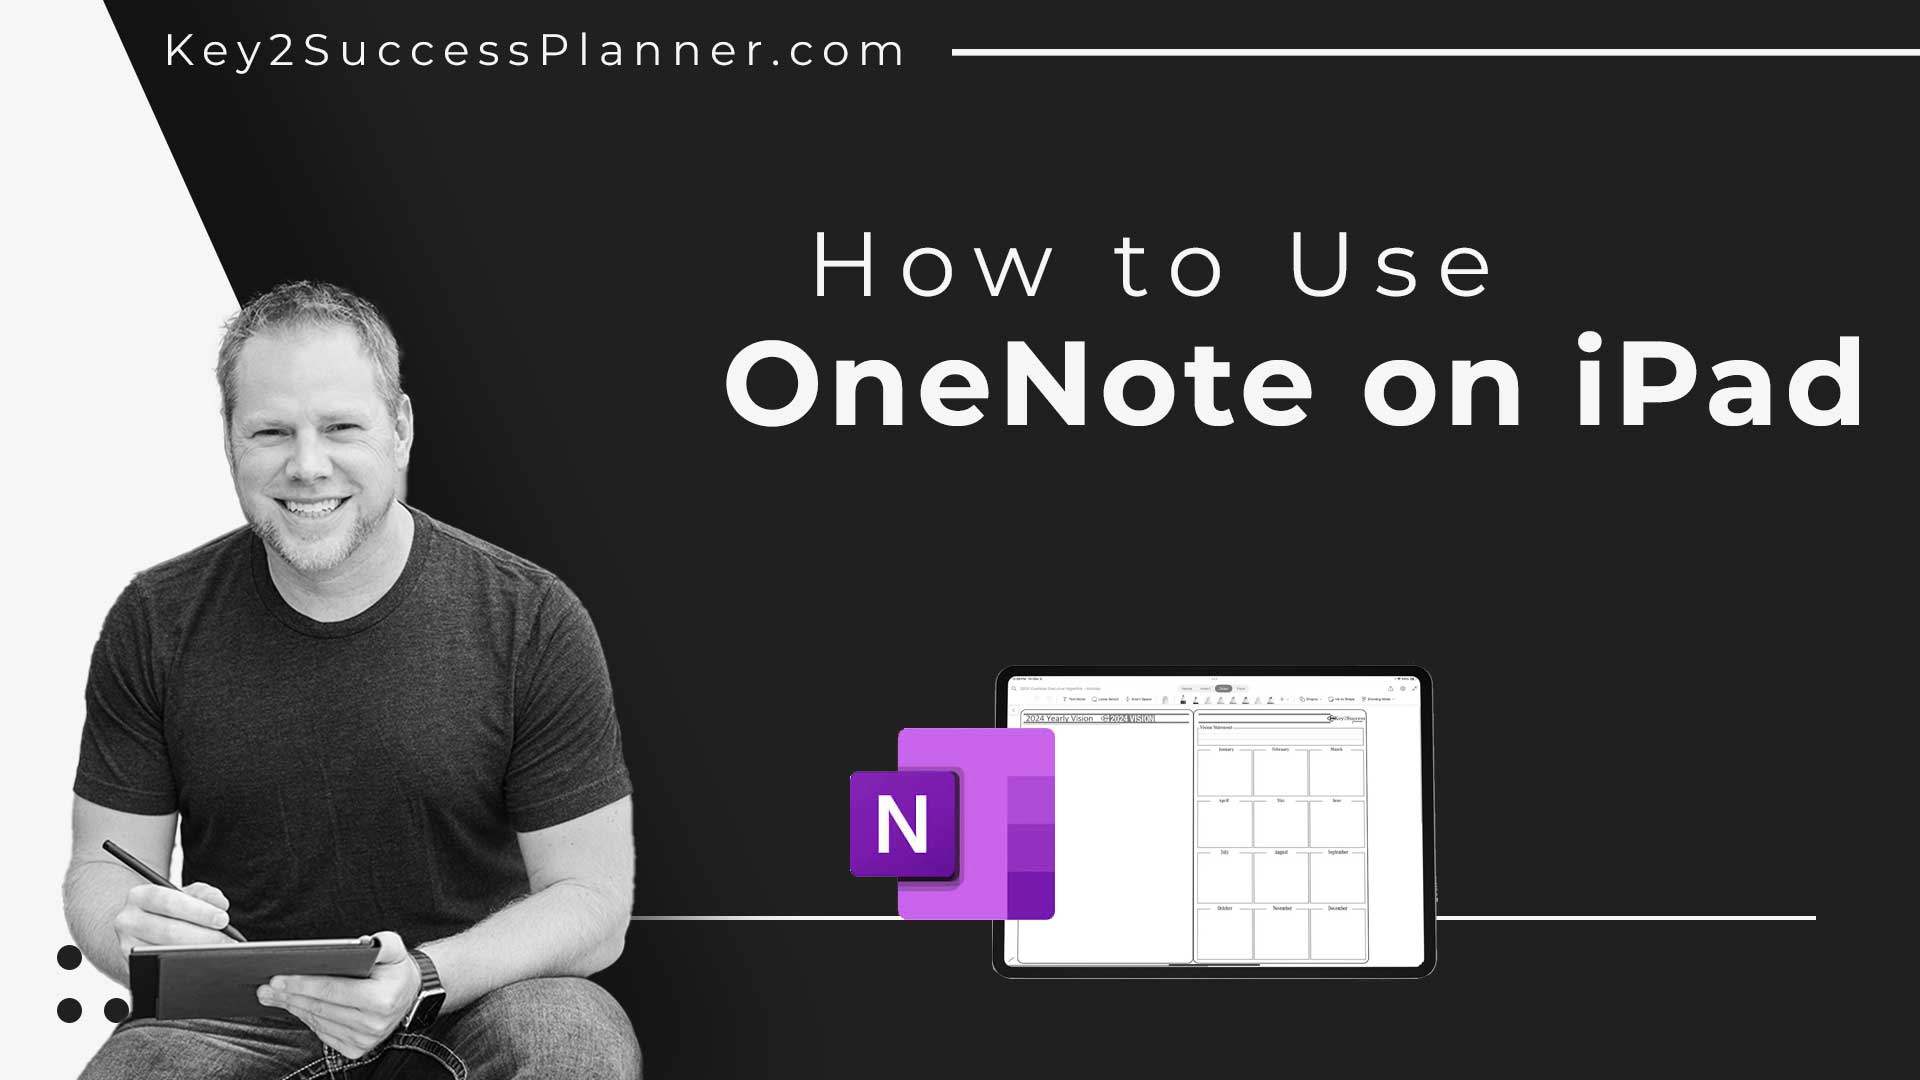
Microsoft OneNote is a digital note-taking application that allows you to capture and organize your notes in a digital format. It’s a part of the Microsoft Office suite, and it’s available on various platforms, including iPad. Here’s a brief overview of how to use OneNote on iPad:
Getting Started:
Download and Install:
- If you don’t have OneNote installed on your iPad, you can download it from the App Store.
Sign In:
- Open the OneNote app and sign in with your Microsoft account. If you don’t have one, you can create it within the app.
Basic Navigation:
Notebooks:

- OneNote on iPad uses a hierarchical structure with notebooks, sections, and pages. Think of a notebook as a collection of related sections, and each section contains pages.
Sections:
- Sections help you organize your content within a notebook. You can create different sections for various topics or subjects.
Pages:
- Pages are where you can actually take your notes. Each section can have multiple pages.
Taking Notes:
Create a Notebook:
- Tap the “+” button to create a new notebook. Give it a name and choose a location (OneDrive, SharePoint, or on the iPad).
Add Sections:
- Within a notebook in OneNote on iPad, you can create sections. Tap the “+” button in the section bar to add a new section.
Add Pages:
- Inside a section, tap the “+” button to add a new page. You can choose different page templates (blank, lines, grids, etc.).
Type or Write:
- Use the keyboard to type notes, or if you have an Apple Pencil, you can handwrite or draw on the iPad.
Insert Images and Files:
- You can insert images or files directly into your notes. Tap the “+” button, and select the option you need.
Formatting:
- OneNote provides basic formatting options like bold, italics, bullet points, etc. Highlight the text you want to format, and the formatting toolbar will appear.
Syncing and Accessibility:
Syncing:
- OneNote syncs your notes across devices if you’re signed in with the same Microsoft account. This means you can access your notes from your iPad, computer, or other devices.
Accessibility:
- OneNote on iPad supports accessibility features, making it usable for people with different needs.
Additional Features:
Audio Recording:
- OneNote on iPad allows you to record audio while taking notes. Tap the microphone icon to start recording.
Tagging and Search:
- You can tag your notes for easy categorization and use the search function to find specific content quickly.