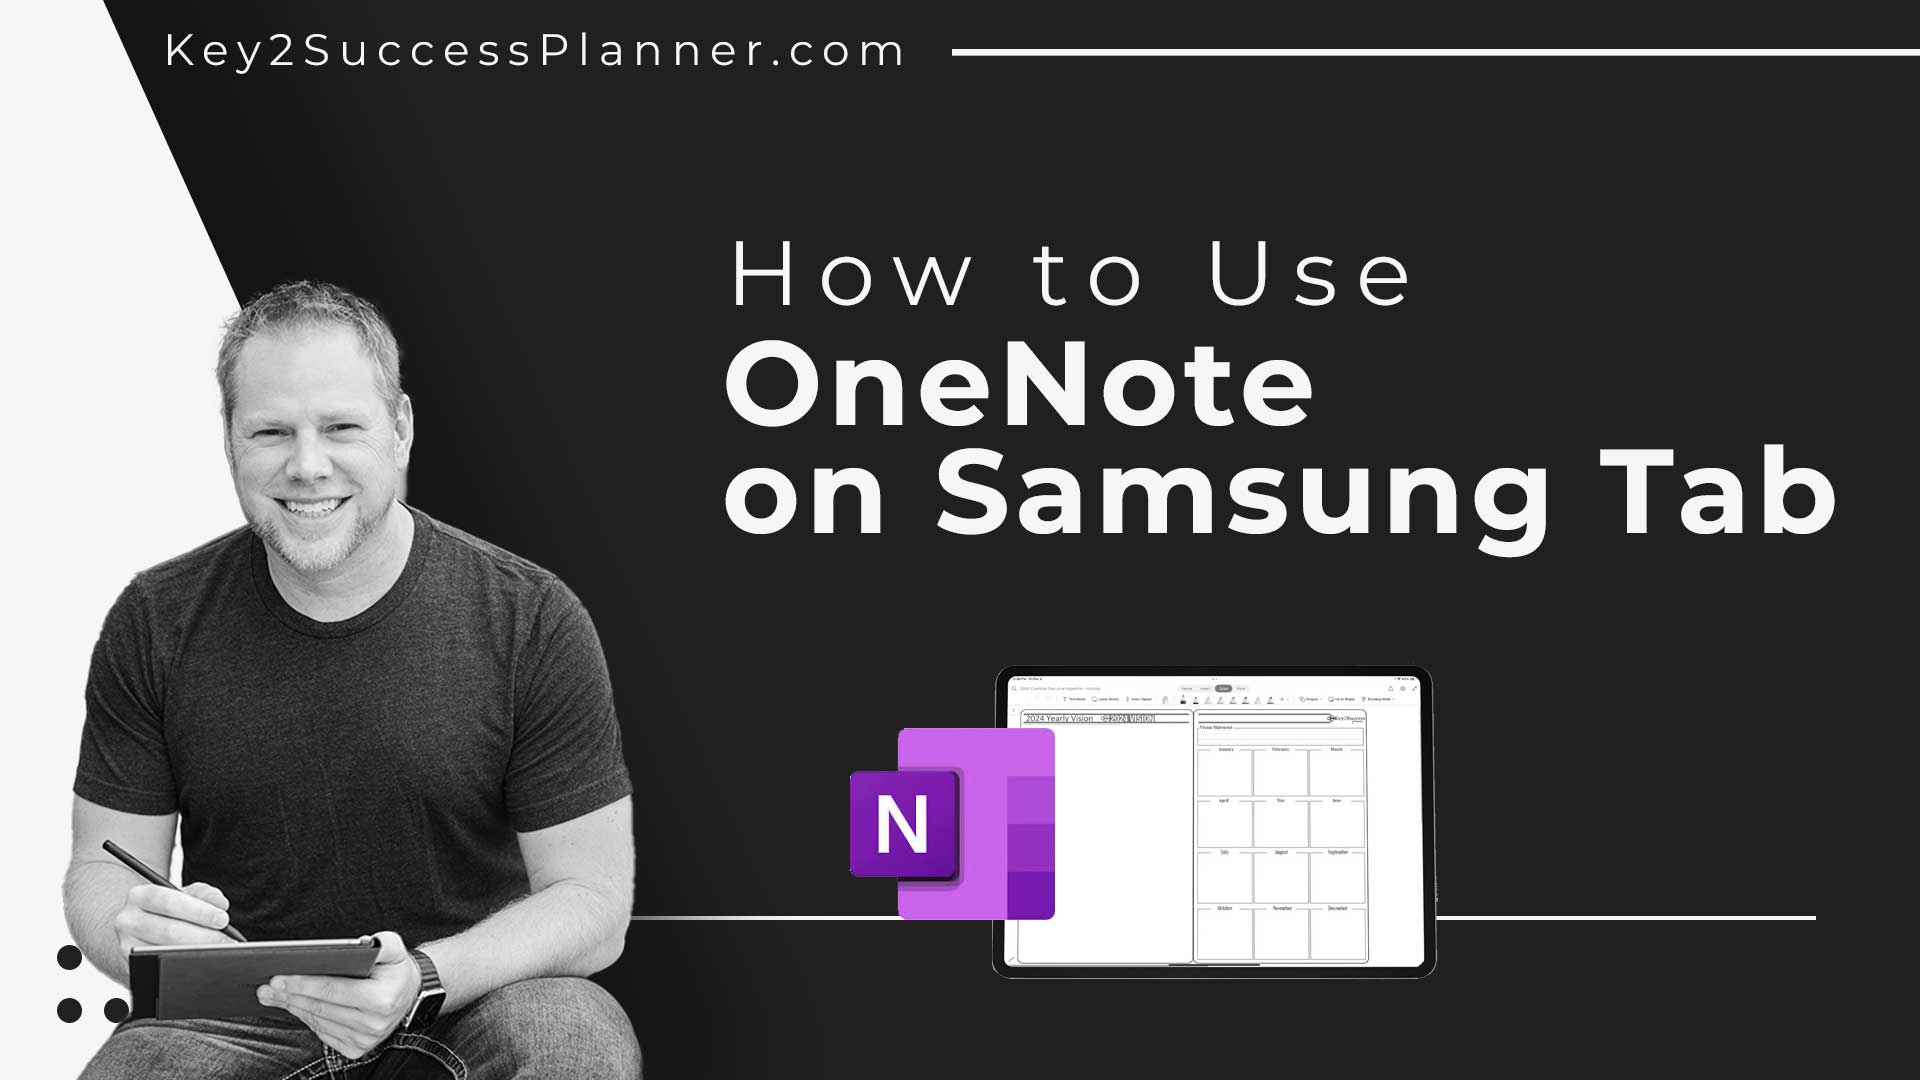
How to Use OneNote on Samsung Tab
To use OneNote on Samsung Tab devices, you can follow these general steps. Keep in mind that the specifics may vary slightly depending on the model of your Samsung Tab and the version of the OneNote app.
Install OneNote:
- If OneNote is not pre-installed on your Samsung Tab, you can download it from the Google Play Store. Open the Play Store, search for “OneNote,” and then install the app.
Sign In or Create a Microsoft Account:
- Launch the OneNote app on your Samsung Tab.
- Sign in with your Microsoft account if you already have one. If not, you may need to create a Microsoft account.
Create or Open Notebooks:

- Once signed in, you can create new notebooks or open existing ones. Notebooks are the main organizational units in OneNote.
Navigate and Create Notes:
- Within a notebook, you can create sections and pages to organize your notes.
- Use the toolbar or menu options to format text, insert images, draw, and more.
Sync Across Devices:
- One of the benefits of using OneNote is the ability to sync your notebooks across devices. Ensure that your Samsung Tab is connected to the internet, and changes made on one device will be reflected on others.
Use the S Pen (if applicable):
- If your Samsung Tab supports the S Pen or another stylus, you can use it for handwriting, drawing, and other stylus-related features in OneNote.
Customize Settings:
- Explore the app settings to customize your OneNote experience. You can adjust settings such as sync options, default notebook locations, and more.
Explore Additional Features:
- OneNote has various features like tags, audio recording, and integration with other Microsoft Office apps. Explore these features to make the most out of the application.
Remember that the specific steps may vary slightly depending on the model of your Samsung Tab and the version of the OneNote app.
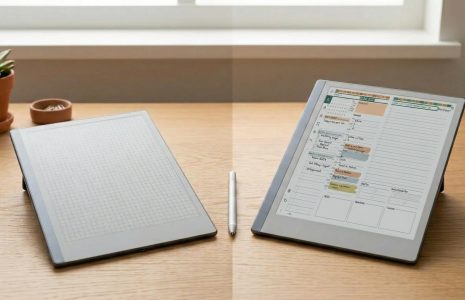
Digital Planner for OneNote on Samsung Tab
The Key2Success Digital Planner is designed for use with OneNote on Samsung Tab, and it provides a structured digital planning experience. Here’s a general guide on how to use the Key2Success Digital Planner in OneNote on Samsung Tab:
1. Purchase and Download:
Purchase and Download:
- If you haven’t already, purchase the Key2Success Digital Planner from the official Key2Success website.
Download the Planner:
- Once purchased, download the digital planner files. These are provided in a downloadable format ZIP file.
2. Importing the Digital Planner:
Find the full install guide here
3. Navigating the Digital Planner:
Navigate Sections:
- The Key2Success Digital Planner is organized into different sections for months, weeks, or specific planning categories. Navigate between these sections to access different planning views.
Use Hyperlinks:
- The planner has a hyperlink option for easy navigation. Tap on these hyperlinks to jump between different sections, pages, or months.
4. Planning and Customization:
Fill in Your Planner:
- Use the digital planner just like you would a physical planner. Fill in your appointments, tasks, and notes.
Customize as Needed:
- OneNote allows for customization. You can add additional pages, insert images, and personalize the planner according to your preferences.
5. Syncing and Backing Up:
Sync Your OneNote Account:
- Ensure that your OneNote account is synced so that your planner data is backed up and accessible across devices.
Backup Regularly:
- It’s a good practice to regularly back up your digital planner. OneNote usually syncs your notebooks automatically, but having an additional backup ensures that your data is safe.
6. Explore Additional Features:
- Take Advantage of OneNote Features:
- Explore additional features of OneNote, such as audio recording, drawing, and tagging, to enhance your digital planning experience.
Remember that the specific steps may vary based on the version of the Key2Success Digital Planner you have and any updates made to the planner or OneNote app.