
Setup Guides
reMarkable Paper Pure Setup Guide: Your First Day, Step by Step
- What’s in the box
- Step 1: Charge and power on
- Step 2: Create your account and connect WiFi
- Step 3: Pair the Marker
- Step 4: Install the desktop and mobile apps
- Step 5: Decide on Connect now, not later
- Step 6: Set up your first folders
- Step 7: Load your first document
- Step 8: Write your first page
- Your first-week checklist
- FAQ
- Common questions, answered in one line
What’s in the box
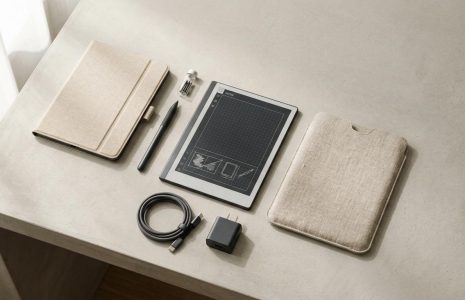
Open the box and you’ll find the Paper Pure itself, one Marker, a 1-meter USB-C charging cable, and 6 replacement marker tips. That’s it. No folio, no charger brick (you’ll use one you already own), no printed manual beyond a quick-start card.
Don’t skip the replacement tips into a drawer you’ll forget about. Marker tips wear down faster than people expect, especially if you write with any pressure. Keep them in the box or a pen cup near the device so swapping one takes ten seconds instead of a five-minute search.

Step 1: Charge and power on
Plug the Paper Pure in with the included USB-C cable before you do anything else. It ships with some charge, but a full battery from the start means you’re not interrupting your setup twenty minutes in to hunt for a cable. Hold the power button on the top edge until the screen wakes up.
Step 2: Create your account and connect WiFi
The device walks you through account creation on first boot. Use the email you want tied to your reMarkable account permanently. It’s not impossible to change later, but it’s annoying, so get it right now.
Connect to WiFi during this step even if you plan to use the device mostly offline. Without WiFi, your Paper Pure won’t sync to the cloud, won’t check for software updates, and won’t pull down your account’s free trial correctly. New accounts get a 50-day trial of Connect automatically when you pair a device, so this is also the moment that trial clock starts.
Step 3: Pair the Marker
Attach the Marker to the right edge of the tablet, where it holds magnetically. The Paper Pure’s Marker is an active pen with its own small battery, and it tops off automatically whenever it’s docked on the side. Leave it attached when you’re not writing and you’ll never think about charging it separately.
One thing worth knowing before you dig through a drawer of old accessories: a reMarkable 2 Marker will not work on the Paper Pure. The connector and pen technology changed. If you’re upgrading from an RM2, this is a new purchase, not a hand-me-down.
Step 4: Install the desktop and mobile apps
Go to remarkable.com/store/desktop on your computer and install the desktop app, then grab the mobile app from your phone’s app store. Sign in with the same account you created on the device.
This step matters more than it sounds like it should. The desktop and mobile apps are how you get PDFs, planner templates, and other documents onto the tablet, and how you view your notes when you’re away from the device. Skip this step and your Paper Pure becomes an island.
Step 5: Decide on Connect now, not later
You don’t need reMarkable’s Connect subscription to write, read, or annotate PDFs. You do need it for cloud backup, unlimited storage, and integrations like Google Drive and calendar sync. Since every new account already gets a 50-day free trial, the actual decision is whether to keep paying once that trial ends, not whether to try it at all.
Make this call on day one instead of week seven. If you load a year of notes onto the device without Connect and then decide you want cloud backup, you’re migrating data instead of just turning a setting on. I’ve written a full breakdown of the current Connect pricing and when it’s worth it in reMarkable Connect in 2026: Is the Subscription Worth It? if you want the complete pricing and feature comparison before your trial runs out.
Step 6: Set up your first folders
Don’t start writing into a single unsorted notebook list. Before you create your first real document, set up three or four top-level folders that match how you actually think about your day: something like Work, Personal, and Planning. You can always add more later, and reMarkable’s own guidance backs this up: broad, stable folders for the big categories, with tags for anything that cuts across them, like “follow up” or “someday.”
Resist the urge to build an elaborate folder tree on day one. You don’t know yet how you’ll actually use the device. Three folders and a willingness to adjust in week two beats twelve folders you abandon by week two.
Step 7: Load your first document
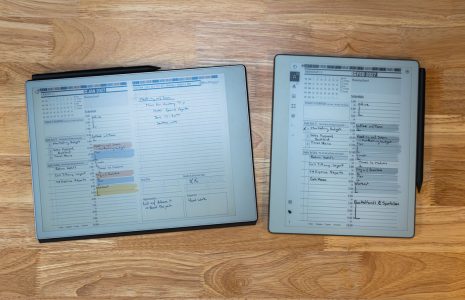
Open the desktop or mobile app, and upload a PDF, a template, or your planner of choice. If you’re setting up the device as a real planning system rather than a blank notebook, this is the step where that decision gets made. The Key2Success reMarkable shop has hyperlinked planner templates built specifically for e-ink devices like the Paper Pure, and they install the same way any PDF does: upload once, and the navigation links work natively in the reMarkable viewer.
If you want the deeper walkthrough on connecting a planning system to AI tools once your notes are flowing, that’s a separate, longer conversation. I cover that full workflow in the reMarkable Paper Pure guide. Today, just get one real document loaded and confirm it opens and syncs the way you expect.
Step 8: Write your first page
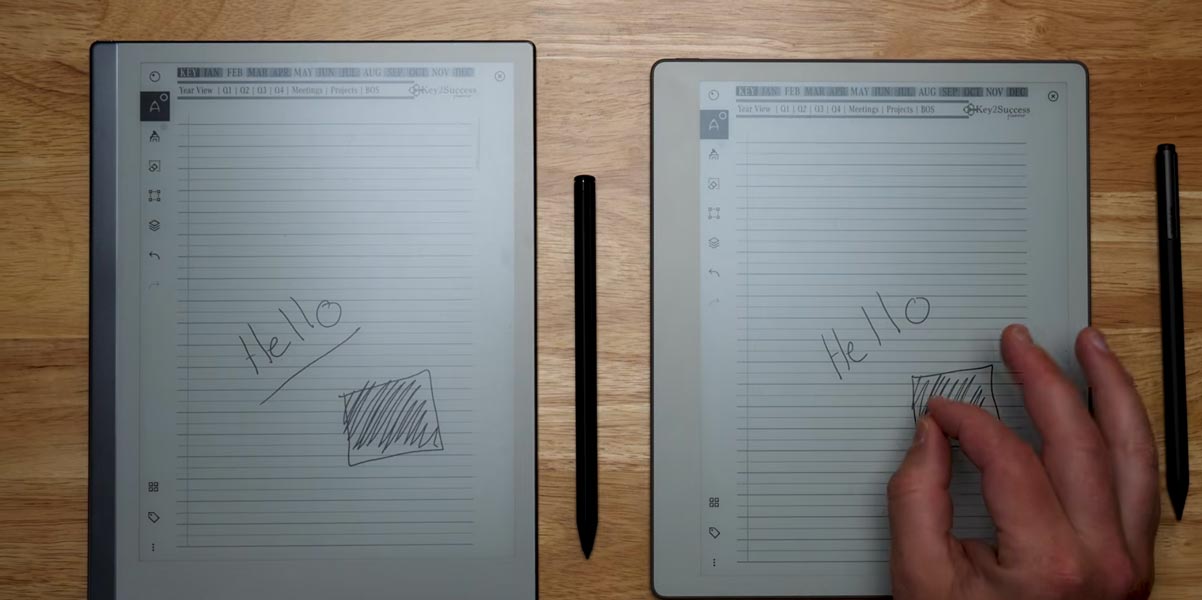
Open a blank notebook and write something. Anything. A to-do list, tomorrow’s top three priorities, a note to your future self about how the setup went. The point isn’t the content, it’s confirming the Marker feels right, the palm rejection works the way you expect, and you know how to save and find the page again.
This is also when you’ll notice if you picked the wrong nib pressure or writing tool in the settings. Better to adjust it now on a throwaway page than three weeks into a notebook you actually care about.
Your first-week checklist
- Day 1: Complete setup through step 8 above. Write one real page.
- Day 2 to 3: Load your actual working documents, whether that’s a planner, a reading PDF, or ongoing project notes.
- Day 4 to 5: Test handwriting-to-text conversion on a page of your normal handwriting, not neat printing, so you know its real accuracy for your use.
- Day 6 to 7: Decide if your three starter folders are working. Adjust before you have hundreds of pages to reorganize.
- End of week one: Revisit the Connect decision from Step 5 with a week of real usage behind you instead of a guess.
FAQ
How long does it take to set up a reMarkable Paper Pure?
About 20 minutes for the physical setup: charging, account creation, WiFi, Marker pairing, and app installation. Budget more time if you’re loading a full planner system on day one.
Do I need a Connect subscription to start using the Paper Pure?
No. Every new account gets a 50-day free trial automatically, and the device works fully offline for writing, reading, and annotating without any subscription.
Can I use my old reMarkable 2 Marker on the Paper Pure?
No. The Paper Pure uses a new active Marker with its own battery. Older Markers and most third-party styluses aren’t compatible.
What should I load onto the device first?
A real document you’ll actually use, whether that’s a hyperlinked planner, a PDF you’re reading, or a notebook for an active project. Loading something with a purpose beats testing with a blank page you’ll delete later.
How many folders should I start with?
Three or four broad categories are plenty for week one. Add structure as you learn how you actually use the device, not before.
Does the Paper Pure need WiFi to work?
No, but connect it during setup at least once so it can sync, update, and register your account trial correctly. After that, it works offline for most day-to-day writing.
Common questions, answered in one line
- Does the Paper Pure come with a case? No, a folio or sleeve is a separate purchase.
- Do I need the desktop app if I only use my phone? The mobile app covers most needs, but the desktop app makes bulk PDF uploads and templates easier.
- Can I skip account creation and use the device standalone? No, an account is required even for local-only use.
- What happens to my free trial if I don’t add a payment method? It simply ends after 50 days and the device reverts to the free tier.
- Can I rename folders after I create them? Yes, at any time, with no penalty to existing documents inside them.
- Is left-handed mode available during setup? Yes, it’s in the settings menu and adjusts toolbar placement to avoid your hand.
- Do replacement Marker tips need any special tool? No, they twist out and in by hand.
Final thoughts
The physical setup takes twenty minutes. The decisions around it, Connect, folders, and what you load first, are what actually determine whether the device becomes part of your routine or ends up in a drawer by month two. Get those right in week one and the rest takes care of itself.
Check the reMarkable Paper Pure hub for the rest of the guides in this series, including Is the Paper Pure worth it? and Paper Pure vs reMarkable 2.
- reMarkable Paper Pure official product page
- reMarkable: Folders vs. tags organization guide
- reMarkable: Pro tips for organizing your paper tablet
- reMarkable Connect in 2026: Is the Subscription Worth It? (brandenbodendorfer.com)
- reMarkable Paper Pure Guide: Setup, AI, and Key2Success Planner (brandenbodendorfer.com)